Featuring Joico Blonde Specialist and Brand Storyteller, Olivia Thompson
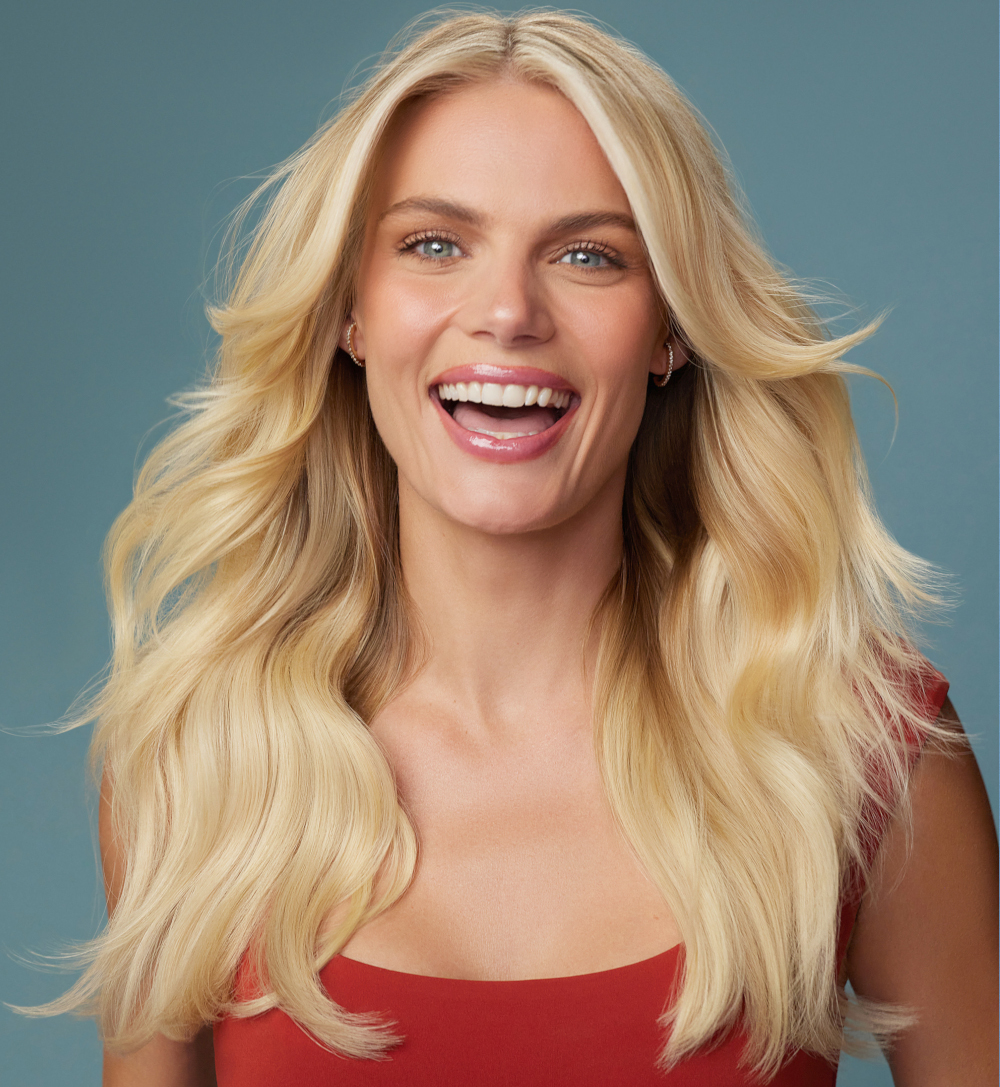
Say goodbye to dull, and hello to bright, beautiful blonde. Joico Blonde Specialist and Brand Storyteller, Olivia Thompson, introduces our stunning new GOLD shades—9G and 10G—designed to brighten and add warmth to dull blonde hair in one easy step.
Watch Olivia’s step-by-step video and get the formula, here:
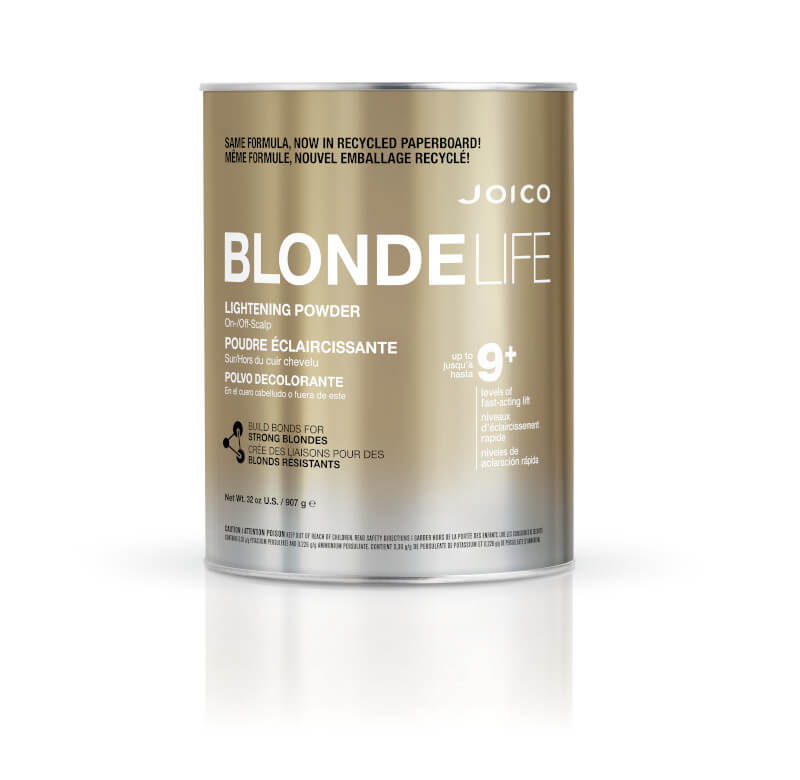
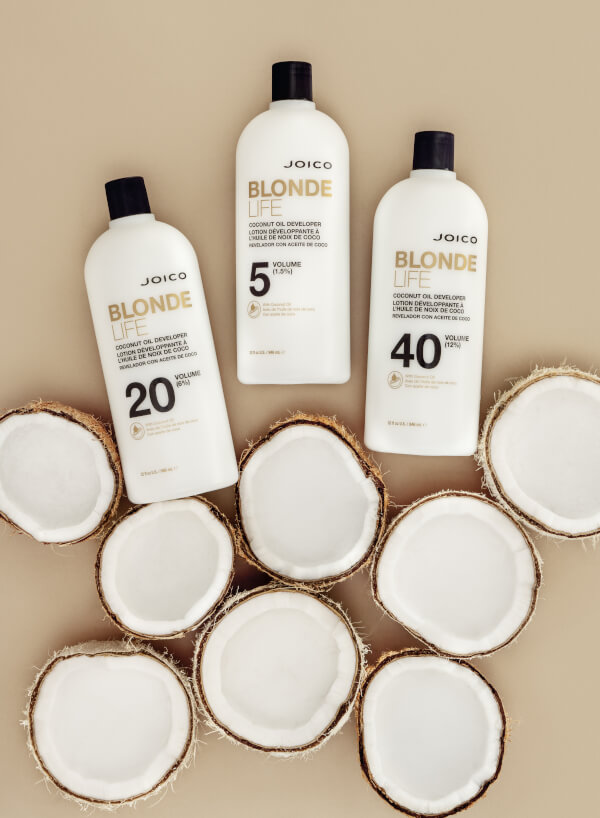
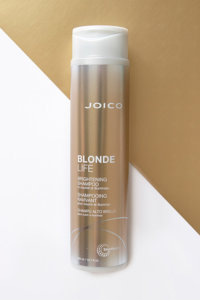
Highlight Formula: Blonde Life Lightening Powder + 20 Volume Blonde Life Coconut Oil Developer
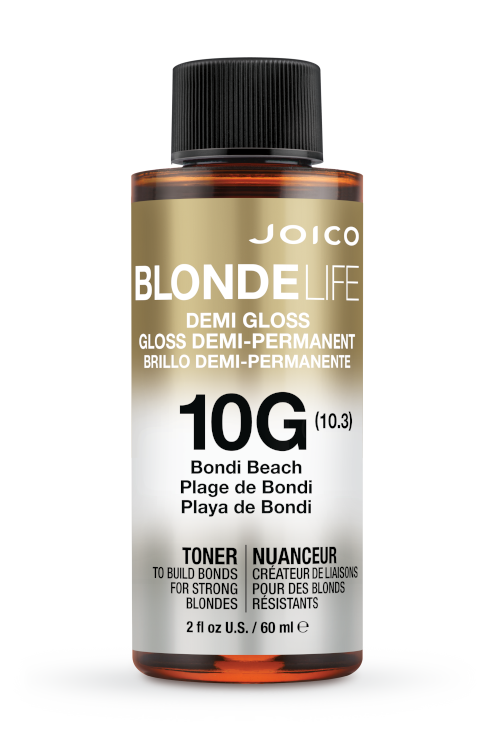
Gloss Formula: Blonde Life Demi Gloss 10(G) Gold + 5 Volume Blonde Life Coconut Oil Developer

Olivia’s Step by Steps
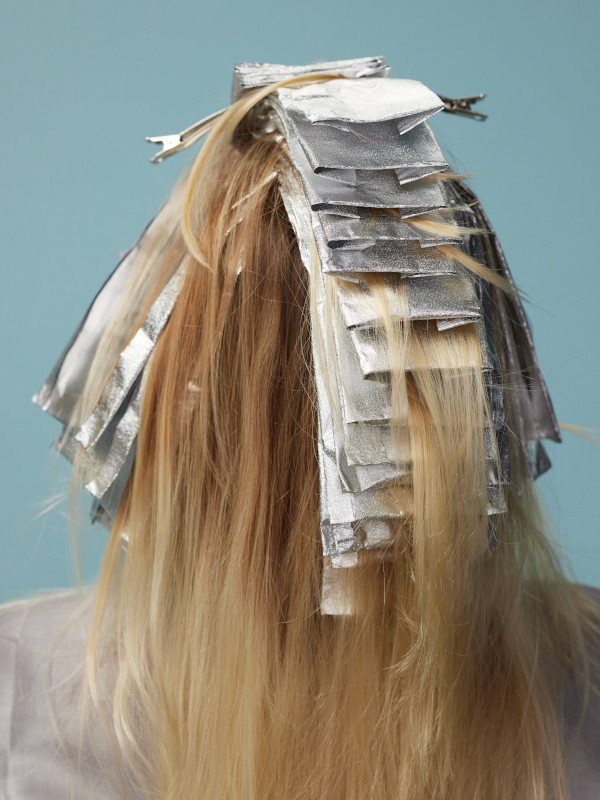
STEP 1:
Create a partial babylight highlight with the Lightening Formula from the swirl to the apex.
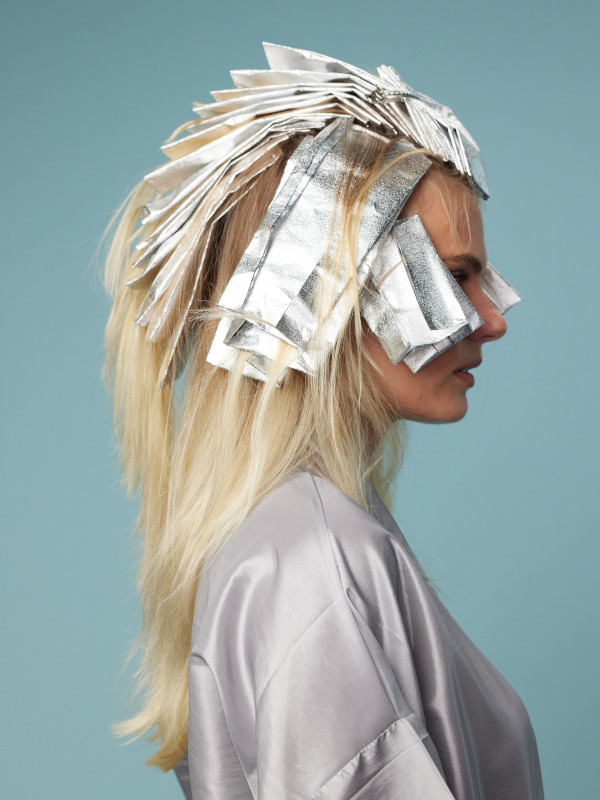
STEP 2:
Continue the technique from the apex to the front hairline.

STEP 3:
Use diagonal-back partings from the hairline to the mohawk section.

STEP 4:
Create a veil of brightness to connect the sides with the top section.
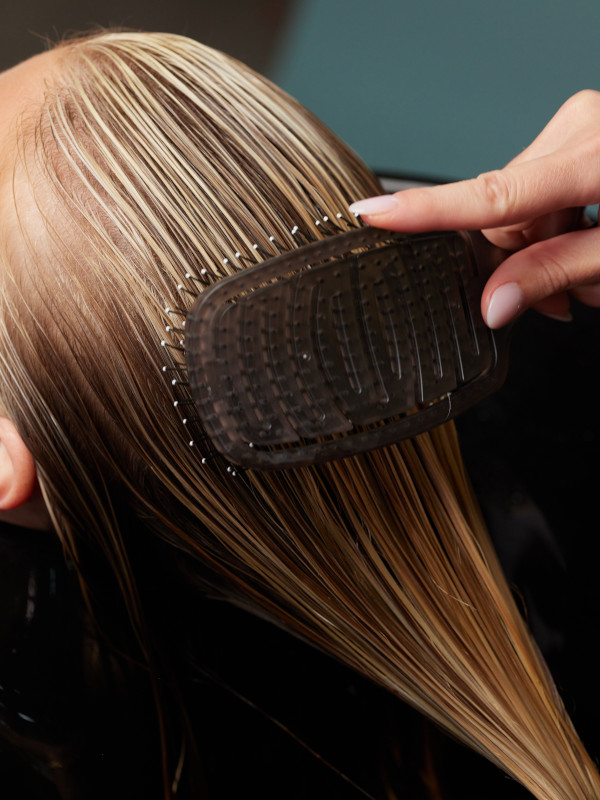
STEP 5:
Lift to the desired level of lightness. Apply Gloss Formula and process for 20 minutes.
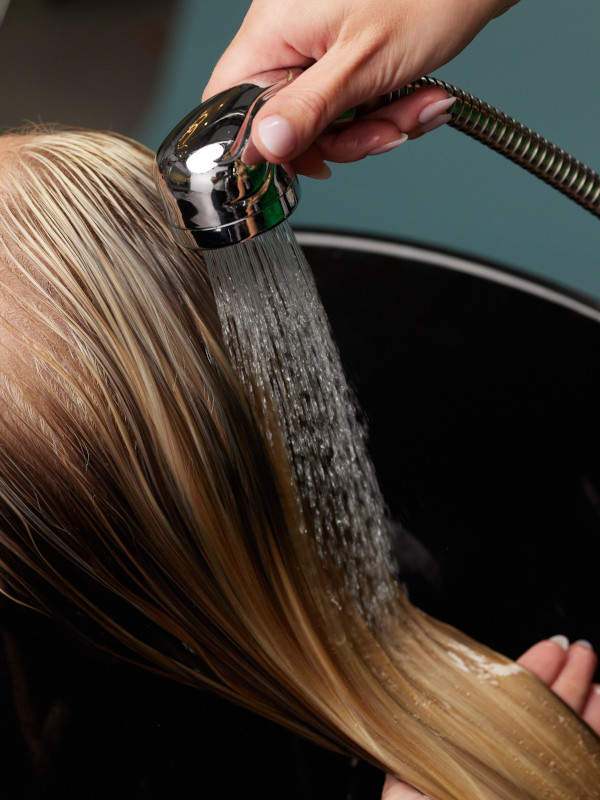
STEP 6:
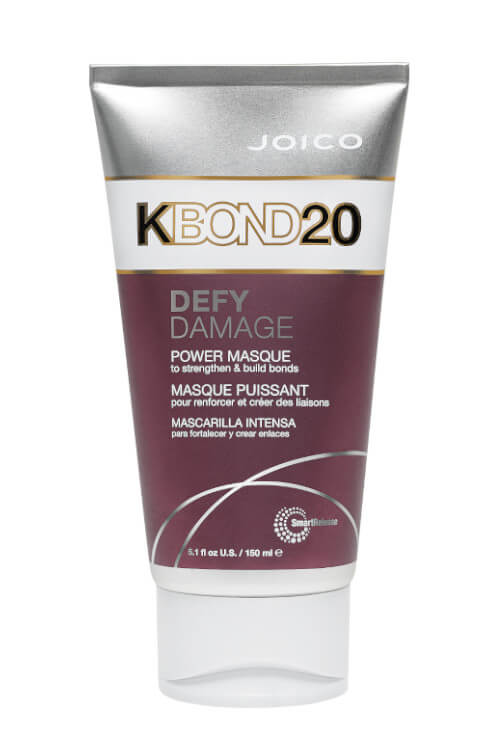
Finish with Defy Damage KBOND20 Power Masque for 5x stronger hair in one treatment.
Products Used: